
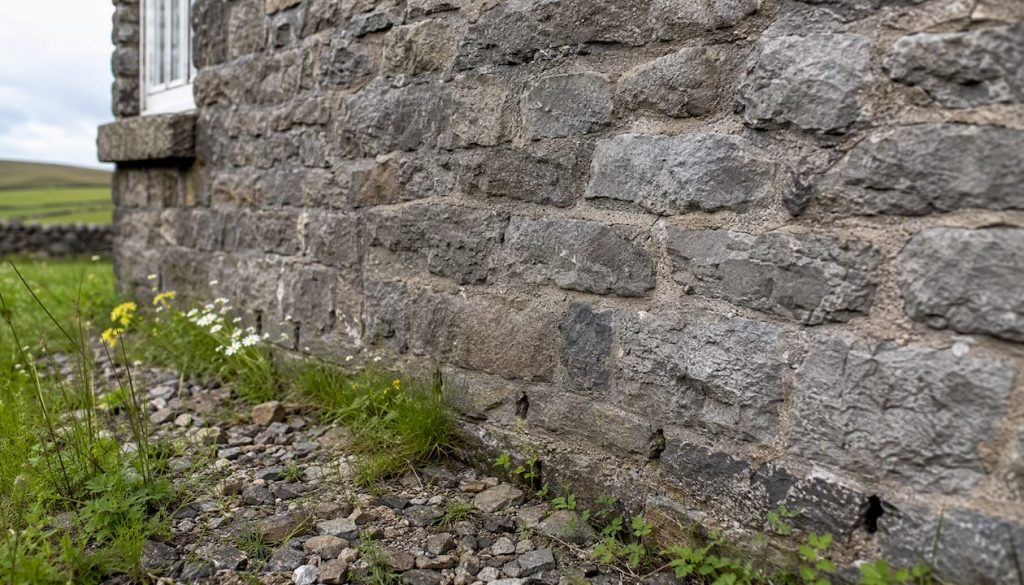
TL;DR:
- Blocked weep holes can cause internal damp and structural damage in cavity walls if left unaddressed. Regular external and internal inspections, along with professional assessment, are essential to identify and fix blockages before major repairs are needed. Using proper tools and following industry guidelines ensures weep holes drain and ventilate effectively, maintaining wall integrity.
If you spot blocked weep holes, clear accessible surface debris straight away, photograph any signs of damp, and arrange a professional cavity inspection if internal moisture appears. Most minor blockages are a ten-minute job with a thin probe and a torch. Anything beyond surface debris needs a specialist.
Three immediate actions:
- Walk the external wall and photograph every weep hole (or missing ones) at DPC level, above lintels, and under window cills.
- Gently probe accessible openings with a thin plastic cable tie or soft wire to dislodge surface mortar or debris.
- Log the date, weather conditions, and any internal signs such as musty smells, mould at skirting level, or damp patches near external walls.
Stop DIY and call an accredited inspector if you find: visible internal damp or mould in multiple rooms, widespread efflorescence or tide marks across the outer leaf, soft or springy flooring near external walls, or any reason to suspect the cavity insulation is saturated or the cavity tray has failed. These are signs the problem runs deeper than a surface blockage.
Table of Contents
- What are weep holes and why do they matter in cavity walls?
- Where you will find weep holes on UK homes and what the spacing rules say
- How weep holes drain and ventilate a cavity
- How to spot blocked weep holes: signs outside and inside your home
- How to check weep holes and the cavity safely
- How to clear a blocked weep hole safely: step by step
- UK-available weep vents and tools to restore or replace blocked weeps
- How to prevent weep holes blocking again
- When a blocked weep hole is more than a DIY job
- Quick walkaround checklist for homeowners
- Key takeaways
- Why weep holes fail more often than they should
- How OSCAR Onsite can help with your cavity wall concerns
- Useful sources and further reading
What are weep holes and why do they matter in cavity walls?
Weep holes are small openings left at mortar joints, or purpose-made vents fitted into the brickwork, that allow water to drain out of the cavity and let air circulate inside it. Without them, a cavity wall has nowhere to shed the water that inevitably penetrates the outer leaf during heavy rain.
Their two jobs are distinct but equally important. First, drainage: rainwater passes through the outer leaf, lands on a cavity tray or flashing, and needs a clear exit route. Weep holes provide that exit. Second, ventilation: moving air inside the cavity reduces condensation, slows the corrosion of wall ties, and prevents the humid conditions that degrade cavity insulation over time.
Common types you will encounter on UK homes:
- Open mortar weeps: a mortar joint left unfilled, the simplest and oldest form.
- Preformed tubular weep vents: a short plastic or terracotta tube bedded into the perpendicular joint; products such as Timloc cavity weep vents are typical examples.
- Concealed venturi weep vents: a slotted or louvred insert that allows airflow and drainage while resisting insect ingress; the Timloc Invisiweep is a widely used UK variant.
- Airbricks: larger ventilation units that serve underfloor voids; they are not the same as weep holes, though both are part of a building’s moisture management system.
A cavity wall without functioning weep holes is not just damp-prone. It is slowly corroding from the inside.
Where you will find weep holes on UK homes and what the spacing rules say
Weep holes appear at specific points where water is most likely to collect inside the cavity. Knowing the correct positions helps you spot gaps during a walkaround.
Common locations:
- At DPC (damp-proof course) level along the base of the outer leaf.
- Immediately above cavity trays over lintels and at changes in wall level.
- Under window and door cills where trays redirect water to the face of the wall.
- At stepped cavity trays on gable walls and around roof abutments.
LABC guidance specifies weep holes at a maximum distance apart, with at least two weep holes for every cavity tray or lintel. Some NHBC and warranty contexts require closer spacing for specific applications. If you measure the spacing on your external wall and find gaps significantly wider than 900 mm, or if there are fewer than two weeps above a lintel, that is a defect worth recording.
Spacing callout: measure from the centre of one weep hole to the centre of the next. On a standard UK brick, 900 mm is approximately six bricks apart. If you cannot find two weep holes above a lintel, photograph the lintel and note it in your inspection log.
NHBC and industry guidance via Spechunter also specifies that telescopic or tubular vents should project past any insulation layer into the cavity so they remain functional even in filled walls. A vent that terminates flush with the inner face of the outer leaf may be blocked by insulation.
Rendered walls are a partial exception. PD 6697 and related guidance notes that fully rendered outer leaves change the drainage expectations for the wall, so a professional appraisal is needed before assuming standard weep hole rules apply.
Pro Tip: On new builds, test suspect vents with a gentle pliers tug. A correctly bedded weep vent resists extraction. A glued half-cut vent pulls straight out. Shine a torch through the opening: if you see mortar rather than daylight into the cavity, the vent is blocked from behind.
How weep holes drain and ventilate a cavity
Rainwater does not stay on the outer face of a brick wall. It works its way through hairline cracks, open joints, and the porous face of the brick itself, then runs down the inner face of the outer leaf. A correctly installed cavity tray or flashing catches that water and channels it to the weep holes, where it exits harmlessly at the face of the wall.
The mechanics, step by step:
- Rain penetrates the outer leaf and tracks down the inner face.
- A cavity tray or flashing intercepts the water and directs it laterally toward the weep holes.
- Water exits through the weep holes at the base of the tray, dripping down the face of the wall.
- Air drawn through the weep holes circulates inside the cavity, reducing relative humidity and slowing condensation on wall ties and insulation.
When the weep holes are blocked, the sequence breaks at the third step. Water pools on the tray. If the pooling is sustained, it eventually overtops the tray or finds a path around it, tracking into the inner leaf. Blocked weep holes are one of the most common causes of damp in masonry walls, and the failure mode is almost always the same: mortar droppings, paint, or compacted debris pack the tray during or after construction, water pools, and a damp patch appears on an internal wall months or years later.
Ventilation failure is the less obvious consequence. Surveyors note that blocked vents create a humid cavity that accelerates wall-tie corrosion and insulation degradation, leading to hidden structural failures that are far more expensive to fix than a cleared weep hole.
How to spot blocked weep holes: signs outside and inside your home
The external signs usually appear before internal damage becomes severe, which gives you a useful window to act.
External warning signs:
- No visible open mortar joints or vent inserts at DPC level or above lintels.
- Mortar, paint, or render packed into the perpendicular joints where weeps should be.
- White powdery efflorescence on the brick face, caused by salts carried out by water that has no clear exit.
- Tide marks or dark staining below window cills.
- Ground level, paving, or soil raised above the DPC line, covering the weep holes entirely.
Internal warning signs:
- Musty smells near external walls, particularly at ground floor level.
- Mould growth at skirting board level or in the corner where the floor meets an external wall; mould at this level often indicates trapped moisture rather than condensation from warm air.
- Skirting boards that are swelling, soft, or pulling away from the wall.
- Soft or springy flooring close to external walls.
- Persistent damp patches that do not respond to improved ventilation or heating.
The long-term risks of leaving blocked weep holes unaddressed go well beyond a damp patch. Saturated cavity insulation loses its thermal performance and becomes a reservoir for moisture. Wall ties corrode, eventually losing structural integrity. Timber lintels and floor joists near the affected area can decay. These failures escalate in cost and complexity the longer they are left. Visible signs can also lag actual cavity saturation by months, which is why documenting your observations with photographs and dates matters: that evidence supports any later warranty or remedial claim.
How to check weep holes and the cavity safely
Start outside. A systematic visual check takes twenty minutes and tells you a great deal before you touch anything.
Step-by-step inspection:
- Walk the full perimeter of the building at DPC level and above every lintel and window cill. Photograph each location.
- Measure the spacing between weep holes. Note any gaps wider than 900 mm or any lintel with fewer than two weeps.
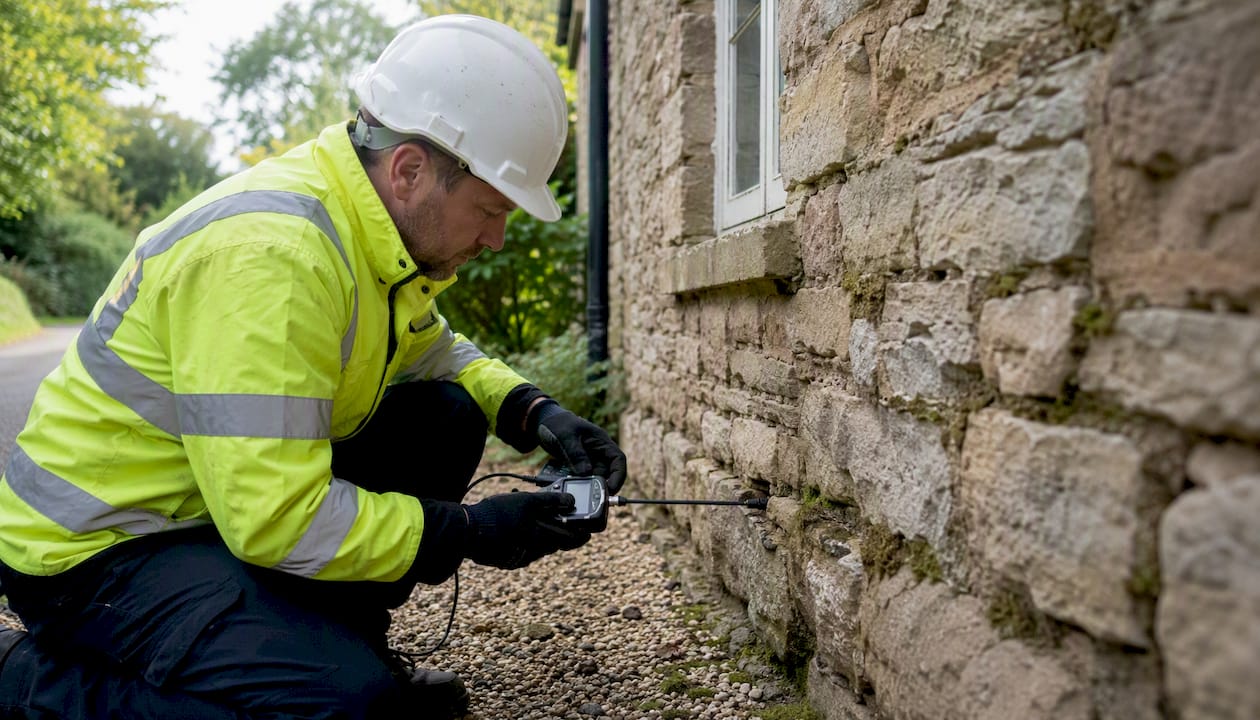
- Shine a torch directly into each vent opening. You should see daylight or the back of the cavity. Mortar, debris, or a solid face indicates a blockage.
- Try a gentle pliers tug on any vent that looks suspicious. A properly bedded vent holds firm; a fake or poorly fitted one pulls free.
- If a vent appears surface-blocked, try inserting a 2–3 mm drill bit by hand (not powered) to feel whether the blockage is at the face or deeper in the joint.
- Use a moisture meter on the internal wall surface directly behind each suspect weep location. Elevated readings suggest water is already tracking through.
Safety warnings:
- Do not use compressed air. High-pressure air can force mortar further into the cavity or dislodge pointing, making the problem significantly worse.
- Avoid aggressive force with any probe. Displacing pointing or damaging the outer leaf creates new entry points for water.
- On properties built before the 1980s, be aware that some older materials around vents and flashings may contain asbestos. If in doubt, do not disturb and seek professional advice.
When to stop and call a professional:
- Widespread damp or mould affecting more than one room.
- Moisture meter readings consistently elevated across multiple internal locations.
- Evidence of a failed or bridged cavity tray (water staining that does not align with a single blocked vent).
- Fake vents discovered on a new build, suggesting workmanship defects throughout.
- Any suspicion that cavity insulation is saturated.
At that point, an independent CWI Condition Inspection Survey is the right next step, not more DIY probing.
How to clear a blocked weep hole safely: step by step
Small, surface blockages are often removable in a few minutes. The key is to work gently, document as you go, and know when to stop.
Tools you will need:
- Thin plastic cable tie or soft wire coat hanger (straightened).
- Small flat-head screwdriver for surface mortar.
- 2–3 mm drill bit (used by hand only, not powered).
- Vacuum cleaner with a narrow nozzle attachment.
- Torch.
- Camera or phone for before-and-after photographs.
- Moisture meter (optional but useful).
Step-by-step clearing procedure:
- Photograph the blocked vent before touching it. Note the date and weather conditions.
- Shine a torch into the opening to assess the depth and nature of the blockage.
- Insert a thin cable tie or soft wire gently from outside. Work it in a circular motion to loosen surface mortar or compacted debris. Do not push material inward.
- Use the vacuum nozzle to extract loosened debris as you work. This prevents material falling onto the cavity tray below.
- If the blockage is a mortar skin at the face of the joint, carefully rake it with the flat-head screwdriver. Work from the edges inward and vacuum continuously.
- Re-shine the torch. You should now see into the cavity or daylight through a tubular vent.
- Do not use compressed air at any stage.
- Photograph the cleared vent and log the date.
- Monitor the internal wall surface behind the cleared vent over the following two to four weeks. If damp patches appear or worsen, the problem is deeper than a surface blockage.
Pro Tip: Confirm drainage with a water-drop test. Pour a small cup of water into the mortar joint just above the cavity tray line and watch whether it exits through the weep hole within a few seconds. If water does not appear, the tray itself may be blocked or bridged, and a borescope inspection is needed to confirm the cavity condition.
UK-available weep vents and tools to restore or replace blocked weeps
When a weep hole is beyond clearing, or when you are replacing a fake or damaged vent, fitting a purpose-made replacement is straightforward for most accessible locations.
Commonly used UK weep vent products:
- Timloc Invisiweep: a concealed venturi-style vent that sits flush with the brick face, allowing drainage and airflow while resisting insect ingress. Widely specified on new builds and used in remedial work.
- Timloc cavity weep vents (drill vents): tubular vents that can be retrofitted by drilling through the perpendicular joint; available in standard and extended lengths for rendered walls.
- Rytons Rytweep: another UK-available tubular weep vent with mesh protection; suitable for standard cavity widths.
- A1-rated metal variants: required in some high-rise or fire-rated applications where plastic vents do not meet the specification. Check the project’s fire strategy before specifying.
Choosing the right vent:
- For rendered walls, use an extended or telescopic vent that projects past the render face and into the cavity, so the render does not seal the opening.
- Check the mesh aperture size: too fine and the vent blocks with dust; too coarse and it admits insects.
- Match the vent length to the wall construction. A standard 102 mm brick outer leaf needs a different extension tube than a rendered or stone-faced wall.
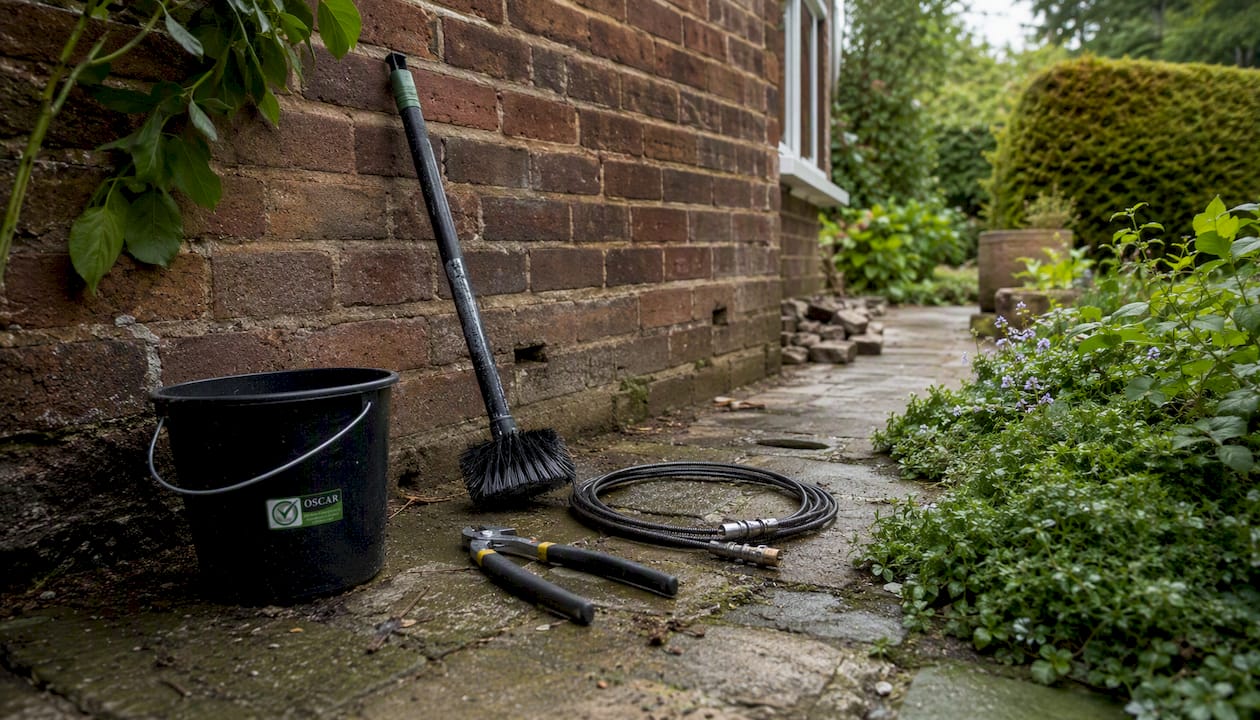
Tools for clearing and inspection:
- Thin flexible probes and cable ties for surface blockages.
- 2–3 mm drill bits (hand-used) for mortar skins.
- Narrow vacuum attachments for debris extraction.
- Torch for visual checks.
- Borescope hire: several UK tool hire companies offer flexible borescope cameras for DIYers who want to inspect the cavity tray condition without drilling additional holes. This is worth considering before deciding whether to call a professional.
How to prevent weep holes blocking again
A simple inspection twice a year catches most problems before they become expensive. The best time is after autumn leaf fall and again in spring after any repointing or landscaping work.
Maintenance schedule:
- Visually check all weep holes every six to twelve months. Photograph any that look partially blocked.
- After any repointing work, check that the contractor has not filled weep holes with fresh mortar. This is one of the most common causes of re-blocking.
- Keep ground level, paving, and soil at least 150 mm below the DPC line. Rising ground is a frequent cause of weep holes being buried entirely.
- After external painting or rendering, check that vents have not been painted over. Clean grilles and vent faces with a stiff brush before paint dries.
- Check airbricks and underfloor vents at the same time; they serve a different function but are part of the same moisture management system.
What to ask builders during construction or renovation:
- Request cavity battens during brickwork. Cavity battens catch mortar droppings as the wall rises, preventing the most common cause of blocked trays. A skilled bricklayer lifts and cleans the batten at each course.
- Specify preformed weep vents rather than relying on open mortar joints, which can be accidentally filled during pointing.
- Confirm correct spacing (maximum 900 mm centres for most applications, or 450 mm centres where required by warranty), minimum two per tray or lintel, and that vents project past any insulation layer.
- Ask for photographic evidence of cavity tray installation before the wall is closed up. This is standard practice under LABC Warranty requirements and protects you if problems emerge later.
A note on landscaping: raised patios, new driveways, and added topsoil are among the most common reasons weep holes stop working years after a building is completed. When commissioning any external landscaping, specify in writing that the contractor must maintain a minimum 150 mm clearance below the DPC and must not cover or obstruct any weep holes or airbricks.
When a blocked weep hole is more than a DIY job
Surface clearing is appropriate for isolated, accessible blockages with no internal signs of damp. Call a professional when the picture is more complicated.
Signs that escalate the risk:
- Internal damp or mould affecting multiple rooms or multiple floors.
- Moisture meter readings elevated at several points across the same wall.
- Widespread efflorescence or tide marks that suggest water is pooling across a long section of tray.
- Fake or non-functional vents discovered during inspection, indicating potential workmanship defects throughout the wall.
- A new build within its warranty period where weep hole defects suggest broader installation failures.
- Any wall with cavity insulation where saturation is suspected; saturated insulation cannot drain through weep holes alone and requires a different approach entirely.
What a professional CWI Condition Inspection Survey includes:
- Borescope inspection through small drilled access points to view the cavity tray, insulation condition, and debris accumulation directly.
- Thermal imaging to identify cold bridging, moisture patterns, and areas of saturated insulation invisible to the naked eye.
- Moisture readings at multiple internal and external points.
- A written report with photographic evidence, findings, and recommended next steps, suitable for warranty or remedial claims.
The right sequence matters. An independent inspection should always come before any extraction decision. Extraction without a confirmed diagnosis risks removing insulation that is performing adequately, or missing a tray failure that will cause the same problem again. OSCAR Onsite’s position is clear: inspect first, extract only where the evidence supports it, and certify the work independently afterwards.
Pro Tip: Ask any contractor quoting for extraction whether they will provide an independent inspection report first. A contractor who quotes for extraction without inspecting the cavity is working without a diagnosis. That is not a process you want applied to your home.
An independent CWI Condition Inspection Survey from OSCAR Onsite uses borescope and thermal imaging to give you an evidence-based picture of the cavity before any decision is made. If extraction is justified, OSCAR Onsite Accredited Member Firms carry out the work to PAS 2030 and BS 8104 standards, followed by independent Technical Monitoring and Clearance Certification to protect you and any future buyer or lender.
Understanding the likely costs before committing is sensible; the cavity wall insulation removal cost guide sets out what UK homeowners typically face if extraction becomes necessary.
Quick walkaround checklist for homeowners
Use this checklist on your next external inspection. Photograph each item and date-stamp the images.
Outside checks:
- Weep holes visible at DPC level along the base of the outer leaf.
- Weep holes present above every lintel and under every window and door cill.
- Spacing between weep holes no wider than 900 mm; at least two per lintel. In some cases, closer spacing is required by warranty guidance.
- Ground, paving, and soil at least 150 mm below the DPC line.
- No mortar, paint, or render blocking vent openings.
- No visible efflorescence, tide marks, or dark staining below cills.
- Torch check: daylight or cavity visible through each vent.
Inside checks:
- No musty smells near external walls at ground floor level.
- No mould at skirting board level or in floor-to-wall corners.
- Skirting boards firm, not soft or swelling.
- Flooring near external walls solid underfoot, not springy.
- No unexplained damp patches on internal walls adjacent to external leaves.
- No recent unexplained rise in heating bills (saturated insulation loses thermal performance).
Photograph every item you check, note the date, and keep the record. If you later commission a professional inspection or make a warranty claim, that documented evidence is genuinely useful.
Key takeaways
Blocked weep holes are a common, fixable problem when caught early, but they can signal serious cavity failure when left unaddressed.
| Point | Details |
|---|---|
| Check spacing and position first | Weep holes should be no more than 900 mm apart, with at least two above every lintel or cavity tray. In some warranty situations, closer spacing—such as 450 mm apart—may be required; always check specific project or warranty guidance. |
| Surface blockages are DIY-safe | A thin probe, vacuum, and torch clear most accessible blockages; never use compressed air. |
| Document everything | Photographs with dates turn your observations into evidence for warranty or remedial claims. |
| Internal signs mean stop and call a professional | Mould at skirting, widespread damp, or elevated moisture readings indicate cavity saturation, not a surface blockage. |
| OSCAR Onsite inspection before extraction | An independent CWI Condition Inspection Survey confirms the cavity condition before any extraction decision is made. |
Why weep holes fail more often than they should
The honest answer is that weep holes fail because they are treated as an afterthought on site. A bricklayer working quickly leaves mortar droppings on the cavity tray. A decorator fills the perpendicular joints for a tidier finish. A landscaper raises the patio level without thinking about the DPC. None of these people intend to cause a damp problem. They just do not see the connection between what they are doing and what happens inside the wall two winters later.
What concerns me more, having worked across this industry for many years, is the number of cases where the weep holes look fine from the outside but the cavity tray is bridged with mortar or the insulation is saturated. The external face tells you very little about the cavity condition. A torch and a probe confirm whether the vent is open. They tell you nothing about whether the tray is intact, whether the insulation is performing, or whether wall ties are corroding behind the brick face.
OSCAR Onsite authored the NVQ Level 2 in Cavity Wall Insulation Surveying and Inspection and the NVQ Level 2 in Cavity Wall Insulation Extraction and Clearance, precisely because the industry needed a structured, evidence-based approach to these assessments. Our CWI Condition Inspection Survey uses borescope and thermal imaging to look past the brick face and give homeowners a real picture of what is happening inside their walls. We train practitioners to the same standard through our accreditation scheme, and we support PAS 2030:2023 and BS 8104 compliance on every project.
The principle is simple: inspect first, extract only where the evidence supports it, and certify the outcome independently. Any contractor who reverses that sequence is not working in your interest.
How OSCAR Onsite can help with your cavity wall concerns

When a blocked weep hole turns out to be a symptom of something larger, you need an independent assessment, not a sales call. OSCAR Onsite provides exactly that: an evidence-led CWI Condition Inspection Survey using borescope and thermal imaging, followed by a written report that tells you what is actually happening inside your cavity wall and what, if anything, needs to be done about it.
If the survey confirms that extraction is necessary, OSCAR Onsite Accredited Member Firms carry out the work in full compliance with PAS 2030:2023 and BS 8104. Independent Technical Monitoring and Clearance Certification follows every extraction, giving you documented evidence that the cavity has been cleared correctly. That documentation matters to mortgage lenders, conveyancers, and insurers.
Book an independent OSCAR CWI Condition Inspection Survey as your first step. It is the only way to know what you are actually dealing with before spending money on remedial work.
Useful sources and further reading
- Installing site-formed cavity trays (LABC): authoritative guidance on cavity tray installation, weep hole spacing requirements, and regulatory expectations for UK construction.
- Cavity trays and reveal closers (LABC Warranty technical update): technical PDF covering warranty requirements for cavity tray installation, cavity battens, and mortar management during construction.
- Weep vent guide: cavity ventilation requirements (Spechunter): practical guide to NHBC requirements, product selection, and telescopic vent installation for UK cavity walls.
- Weep vents: what they do, why they’re required, and how to spot a botched job (Buildwiz): detailed technical explanation of weep vent function, failure modes, and site detection techniques including the pliers test.
- Weep holes in brick veneer walls (AWESIM): practical guide to identifying blocked weep holes from external and internal signs; note this source is Australian but the diagnostic principles apply to UK cavity walls.
- Cavity wall construction and considerations (PSBJ Magazine): covers exceptions for rendered walls and why professional appraisal is needed for non-standard wall finishes.
- CWI Condition Inspection Survey (OSCAR Onsite): details of OSCAR Onsite’s independent inspection service, including borescope and thermal imaging methodology and report deliverables.