
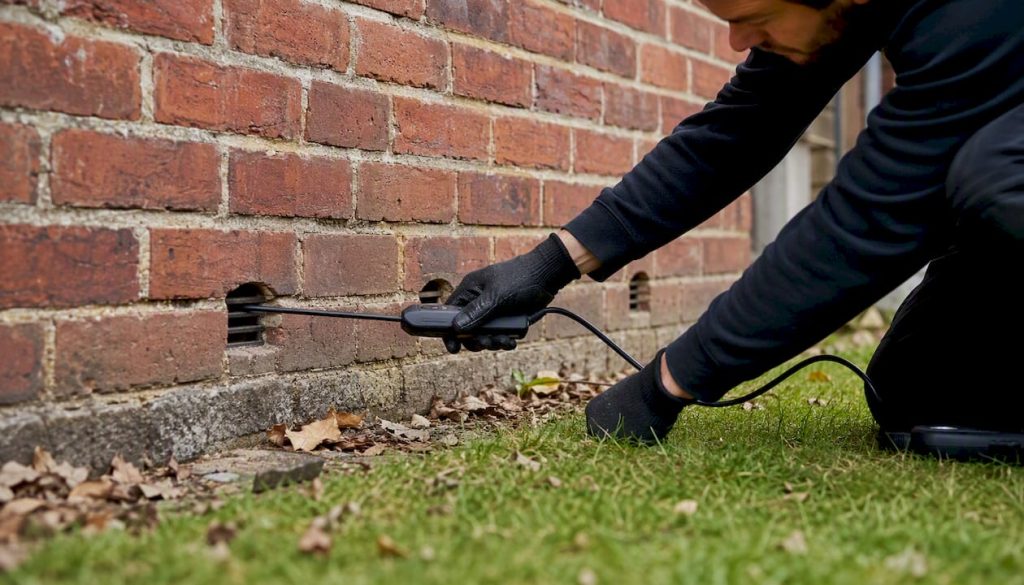
Weep holes drain water out of your cavity; slim vents allow limited airflow through it. Neither will cure saturated or failed cavity wall insulation. If you have persistent damp patches, cold spots, or mould that appeared after insulation was installed, adding a few weep holes is unlikely to help and may mask a more serious problem. The right first step is to understand what each detail does, check whether yours are present and clear, and commission an independent CWI condition inspection if you suspect trapped moisture inside the cavity.
What each detail does:
- Weep holes (cavity weeps): drain water collected by cavity trays and DPC flashings to the outside face of the wall
- Slim vents / airbricks: provide passive airflow to a cavity or suspended subfloor void, reducing moisture build-up in ventilated spaces
- Neither detail will dry out saturated insulation or correct a failed cavity design
When vents are the right fix:
- Weeps are missing above a lintel or cavity tray and water is tracking inward
- Existing vents are blocked by mortar, render, or landscaping
- Underfloor airbricks are obstructed and causing subfloor dampness
When you need an independent inspection instead:
- Damp or mould appeared or worsened after cavity wall insulation was installed
- Cold spots on walls persist despite heating
- Thermal imaging or a borescope check reveals moisture inside the cavity
Pro Tip: Before spending money on any remediation, book an independent CWI condition inspection. A borescope and thermal camera will show what is actually happening inside the cavity, not just what is visible on the surface.
Key takeaways
Cavity wall vents and weeps manage drainage and airflow at specific details in the wall, but they cannot dry out or correct failed cavity wall insulation.
| Point | Details |
|---|---|
| Weeps drain; vents ventilate | Weep holes remove water from cavity trays; slim vents provide airflow. They are not interchangeable. |
| Spacing is regulated | NHBC/LABC guidance requires weeps at maximum centres on DPC runs and above openings, with at least two per lintel. |
| Vents do not fix saturated insulation | Adding weeps to a wall with failed or waterlogged insulation will not resolve persistent damp or cold spots. |
| Inspect before you remediate | An independent borescope and thermal imaging inspection confirms what is actually inside the cavity before any money is spent on extraction. |
| OSCAR Onsite | Provides independent CWI condition inspections, accredited extraction referrals, and clearance certification across the UK. |
Table of Contents
- What cavity wall vents and weeps actually do
- Where to fit weep holes and slim vents: UK spacing rules
- How to inspect and keep weeps and vents clear
- Why adding vents alone often fails to fix the problem
- Choosing the right weep or slim-vent product for your wall
- What to expect on timescale and cost
- Standards and regulations: what compliant work looks like
- What OSCAR Onsite delivers for homeowners
- The evidence-first approach: why it protects you
- Book an independent CWI condition inspection with OSCAR Onsite
- Sources
What cavity wall vents and weeps actually do
A cavity weep hole is a small drainage outlet, typically a short plastic duct or open perpendicular joint, positioned in the first course of brickwork above a cavity tray, DPC, or lintel. Its job is to let water that has penetrated the outer leaf and been caught by the tray escape to the outside rather than track across to the inner leaf. Designing Buildings confirms that correct cavity drainage is central to keeping the inner leaf dry.
A cavity vent or slim vent is different. It sits in the mortar joint and allows air to pass through the outer leaf into a void behind it, whether a ventilated cavity, a subfloor space, or a service void. An airbrick performs the same function at a larger scale, typically for suspended timber floors. A weep is not an airbrick, and an airbrick does not replace a correctly located weep hole. Confusing the two is one of the most common mistakes homeowners make when trying to diagnose a damp problem.
Where to fit weep holes and slim vents: UK spacing rules
Placement is not optional. LABC and NHBC checklists set out the required locations and maximum centres for weep holes in cavity wall construction.
Mandatory locations:
- At each end of every cavity tray run
- Above every lintel (minimum two weeps per opening)
- At DPC level along the base of the wall
- At step abutments and parapet trays where applicable
Spacing guidance:
- Maximum centres along DPC and tray runs
- Maximum centres directly above openings and lintels
- First and last weep positioned close to the ends of each tray
Practical checks for homeowners:
- Look for open perpendicular joints or small plastic ducts in the first course above window and door heads
- Check that render has not been applied over the vent face
- Confirm the vent penetrates the full depth of the outer leaf, not just the face
Where a wall is rendered, weeps must either be proud of the render or fitted with extension tubes. A vent face buried under render is non-compliant and effectively useless.
How to inspect and keep weeps and vents clear
Blocked or missing weep vents are a frequent defect and a common cause of later damp. A simple site check takes under an hour.
Step-by-step inspection:
- Visual check: stand back and count the open perpendicular joints or duct faces in the first course above each tray or lintel
- Torch test: shine a torch into the vent opening; you should see daylight or the cavity beyond
- Tug test: for plastic duct vents, a gentle pull confirms the duct is properly bedded and not a “fake” vent sitting loose in the joint
- Probe: a 2–3 mm rod or stiff wire can clear light mortar droppings from a partially blocked duct without damaging the surrounding brickwork
For underfloor ventilation, count the airbricks on each elevation, confirm they sit above finished ground level, and check that no landscaping, soil, or decking has been built up against them.
Maintenance is straightforward: keep vents clear of climbing plants and render overspray, check after any driveway or landscaping work, and add insect mesh where specified to prevent nesting.
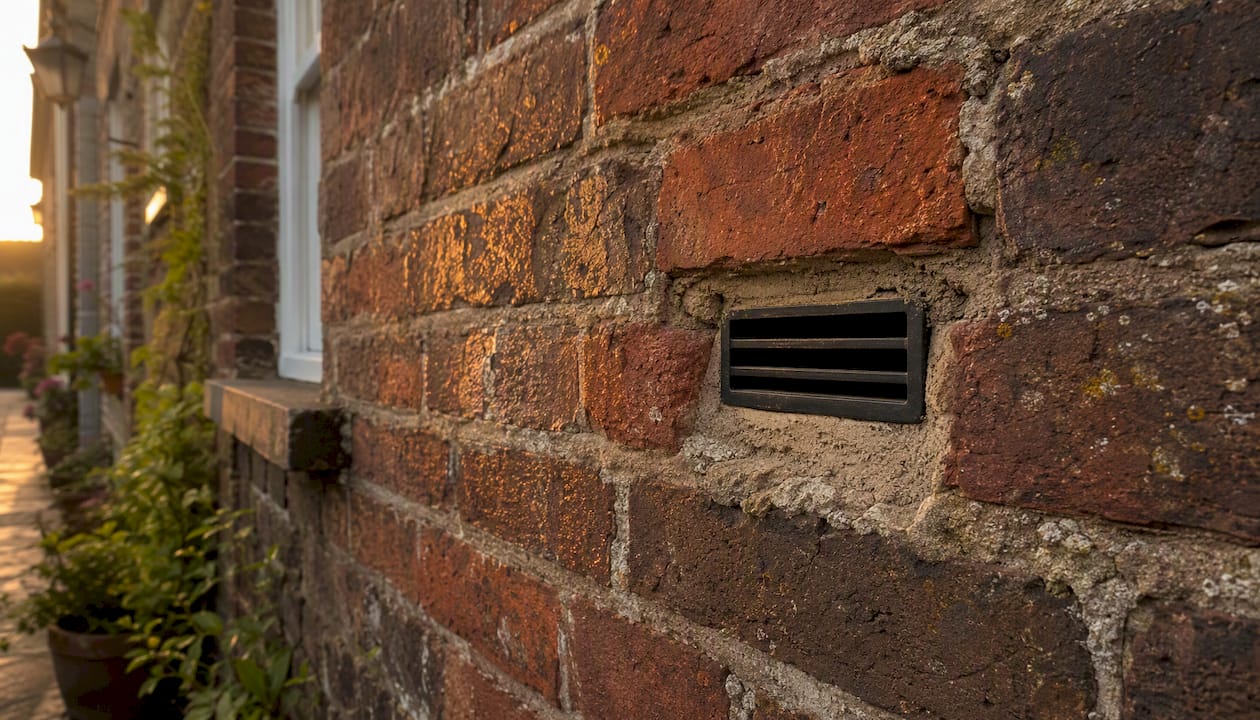
Pro Tip: External vent checks tell you whether the outlet is open, not whether the cavity behind it is dry. An independent borescope and thermal imaging inspection is the only reliable way to confirm the condition of insulation inside the cavity. See blocked weep holes guidance for a detailed clearing walkthrough.
Why adding vents alone often fails to fix the problem
The Energy Saving Trust is clear: cavity wall insulation must not be installed where there is a pre-existing dampness risk, and if damp arises after installation, independent investigation is required to determine whether extraction is necessary. Adding vents after the fact does not change that position.
Saturated insulation holds water against the inner leaf continuously. A weep hole at the base of the wall cannot draw moisture out of insulation that is already waterlogged. The physics simply do not work that way.
Triage guide:
- Clear blocked vents yourself if the problem is obviously a mortar-blocked duct and there is no history of insulation or damp issues
- Add missing weeps where cavity trays are present but drainage outlets were omitted, and only where you have confirmed there is no insulation failure
- Commission an independent CWI condition inspection if damp or mould appeared after insulation was installed, if mould is visible behind wallpaper or on internal finishes, or if cold spots persist on thermal images
An independent inspection uses a borescope to view the cavity directly and thermal imaging to map moisture distribution. It produces an evidence-based report with remediation options, not a sales pitch for extraction. If extraction is genuinely required, the report will say so, with the evidence to back it.
Choosing the right weep or slim-vent product for your wall
UK-available products fall into a few clear categories. Selection depends on the wall’s primary need, its fire-rating requirement, and whether the outer leaf is rendered.
Product categories:
- Concealed weep ducts (e.g. Rytons Rytweep): short plastic ducts bedded in the perpendicular joint; available with extension tubes and A1-rated metal variants for fire-critical walls
- Rytweep Tube: an extended version of the Rytweep that projects further into the cavity, useful where the outer leaf is thick or rendered
- Slim vents / Rytons Slim Vent: low-profile vents for passive airflow through the outer leaf; available with insect mesh and in various depths
- A1-rated metal vents: required on buildings over 11 m or where Approved Document B fire provisions apply to the external wall
| Selection criterion | Weep duct | Slim vent | A1 metal variant |
|---|---|---|---|
| Primary purpose | Drainage | Ventilation | Drainage or ventilation |
| Fire rating | Plastic (standard) | Plastic (standard) | A1 non-combustible |
| Insect mesh available | Yes (some models) | Yes | Yes |
| Rendered wall compatible | With extension tube | With extension tube | Yes |
| Typical placement | Above tray / lintel | Cavity / subfloor | High-rise / boundary |
INCA’s drained-cavity guidance adds an important caution for EWI projects: introducing ventilation holes outside the base-rail specification can negate thermal performance. Always follow the system designer’s specification rather than adding ad-hoc vents.
Pro Tip: On rendered walls, specify products with a protector cap during construction so render cannot block the duct face. Retrofitting extension tubes after rendering is possible but harder.
What to expect on timescale and cost
Two distinct pathways, with very different scopes:
-
Minor vent repairs: visual inspection, clearing blocked ducts, and fitting missing weeps above lintels. Typically a single day’s work for a competent tradesperson. Cost is low; the main risk is misdiagnosing a deeper problem as a simple blockage.
-
Independent CWI condition inspection: a surveyor visits, drills small bore holes, inserts a borescope, and captures thermal images. The survey itself usually takes a day; the written report follows shortly after. This is the step that tells you whether the cavity is sound or whether extraction is needed. For removal cost guidance, OSCAR Onsite’s cost page sets out the main cost drivers.
-
Extraction and restoration: a multi-day to multi-week project depending on house size, insulation type, access constraints, waste handling, and reinstatement. Cost drivers include the volume of material, the extraction method, and whether the cavity needs reinstatement with new insulation afterwards.
Documentation to request at each stage:
- Independent condition survey report with photographic and thermal evidence
- Evidence of NVQ-qualified or competent-trades operatives
- Technical monitoring records during extraction
- Clearance certificate confirming the cavity has been restored to a clean, compliant condition
Standards and regulations: what compliant work looks like
Weep holes and cavity vents sit within a framework of UK building regulations and industry standards. Homeowners commissioning work should expect contractors to reference these.
Key standards:
- Approved Document C (moisture resistance): requires cavity walls to be designed so that moisture does not reach the inner leaf
- Approved Document B (fire safety): sets material requirements for external wall components on higher-risk buildings; plastic vents may be non-compliant above 11 m
- PAS 2035 / PAS 2030: govern retrofit insulation work, including pre-installation surveys and post-installation compliance; any insulation work on your home should reference these
- NHBC and LABC checklists: specify cavity tray locations, weep positions, and maximum centres as part of new-build sign-off
- BS 8104: addresses exposure classification and wall design for driving rain resistance
On fire rating: any vent or weep product installed in an external wall above 11 m, or in certain boundary conditions, must meet A1 or A2-s1,d0 non-combustible material requirements under Approved Document B. Plastic vents that are compliant in a standard two-storey house may be prohibited in a flat block or taller terrace. Always confirm the building’s height and boundary classification before specifying products, and request written confirmation from the contractor that the specified product meets the applicable fire classification.
Where cavity barriers or fire stopping are disturbed during any modification, they must be reinstated to the original specification. This is not a detail to leave to chance.
What OSCAR Onsite delivers for homeowners
OSCAR Onsite provides independent, evidence-led CWI condition inspections and accredited extraction pathways across the UK. The service flow is straightforward:
- Initial enquiry: describe your symptoms; OSCAR Onsite advises whether a condition inspection is appropriate
- Independent CWI condition inspection: a qualified surveyor visits, drills small access holes, and uses a borescope and thermal imaging camera to assess the cavity
- Written independent report: photographic evidence, thermal images, borescope footage, moisture mapping, and a clear remediation recommendation, not a sales pitch
- Remediation decision: the report sets out options, including monitoring, targeted repairs, or extraction where the evidence justifies it
- Accredited extraction referral: where extraction is recommended, OSCAR Onsite refers to an OSCAR Accredited Member Firm operating under PAS 2030:2023 and BS 8104
- Independent technical monitoring and clearance certificate: a separate, independent check confirms the cavity has been cleared to the required standard
OSCAR Onsite authored the UK’s NVQ Level 2 qualifications in CWI Surveying & Inspection and CWI Extraction & Clearance, the national benchmark for the sector. The CWI condition inspection survey is the right starting point before any extraction decision is made.
The evidence-first approach: why it protects you
The industry has a long history of sales-led extraction: a contractor spots damp, recommends immediate removal, and the homeowner pays for work that may not have been necessary. The weep-hole version of the same mistake is simpler but just as costly: a tradesperson adds vents to a wall with saturated insulation, the damp continues, and the underlying problem is now harder to diagnose because the wall has been disturbed.
The most common mistakes homeowners make are assuming vents will cure saturated insulation, accepting a sales-led extraction quote without independent evidence, and ignoring render-blocked vents until the damage is done.
Pro Tip: Before agreeing to any extraction, ask the contractor for an independent condition survey report with borescope images. If they cannot provide one, or if the same company is offering both the survey and the extraction, commission a separate independent inspection first.
Book an independent CWI condition inspection with OSCAR Onsite

OSCAR Onsite provides independent CWI condition inspections across the UK, using borescope and thermal imaging to produce an evidence-based report before any remediation decision is made. There is no sales pressure and no conflict of interest: the inspection report stands on its own, whether the conclusion is to monitor, repair, or extract.
Where extraction is justified, OSCAR Onsite refers to accredited member firms operating under PAS 2030:2023, followed by independent technical monitoring and a clearance certificate confirming the cavity has been restored correctly. OSCAR Onsite also offers accredited extraction services through its member network for homeowners ready to proceed.
Book your CWI condition inspection survey to get the independent evidence you need before committing to any remediation.
Sources
- Cavity wall insulation – Energy Saving Trust
- External Wall Insulation Guidance Document – Drained Cavity System (INCA)
- RYTWEEP – Rytons Rytweep® (Cavity Weep) – Rytons Building Products
- Building damp-free cavity walls – Designing Buildings
- Weep vents: what they do, why they’re required, and how to spot a botched job – Buildwiz